Image slicing and CSS – Best for Designers to know aobut image formats.
Although CSS can do lot’s of stuff by itself, it also relies a lot on images. Websites without bullets, icons and backgrounds aren’t that lovely to see.
When we slice and dice our designs in order to create a website, optimizing the images is a key factor when we are focusing in our site’s response time.
Be clever with image file formats and you’ll go a step further in optimizing your site.
The image file types
In web, there are three image file types we can use:
- .gif (Graphic interchange format)
- .jpg (Joint photographic experts group)
- .png (Portable network graphics)
.GIF
Gif are lighter compared to jpgs or pngs.

This file type is great for:
- Solid colors
- Simple and small icons
- Typography
- Basic transparency (Simple shapes over a solid color)
.JPG
In my opinion .jpg files need at least a 80% quality to look good in web. More quality means really more weight, so be careful.

This file type is great for:
- Photographs
- Simple gradients
Why only simple gradients? Because the .jpg files with complex gradients start too look blurry and with low definition.
.PNG
There are three types of pngs: 8, 24 and 32 bits. More number = more quality.
Personally I find that 8 bit has extremely poor quality. I also find the weight difference between 24 and 32 bits very slim, but with a significant difference in quality.
Due to all this, I commonly use 32 bit .pngs

This file type is great for:
- High detailed icons and illustrations
- Complex gradients
- Great fidelity in transparency (24 or 32 bits)
IE6 and transparent PNGs
IE6 doesn’t support png transparency. The transparency in the browser is replaced with a light blue background instead.
There are many techniques to fix this, and they are usually related with javascript.
An example of this kind of fix is the Unit PNG Fix.
There are lot of others out there. Each one has it’s pros and cons. Google ‘png fix’ and try them out. I still haven’t found THE BEST one.

 A Light weight, small framework for beautiful forms: Ideal Forms
  How to Start a Functioning Website Under Thirty Dollars 2021?
  The HTML5 Time Element Is Back and Better Than Ever
  Mozilla Introduce Firefox 9, with Speed and less memory improvements
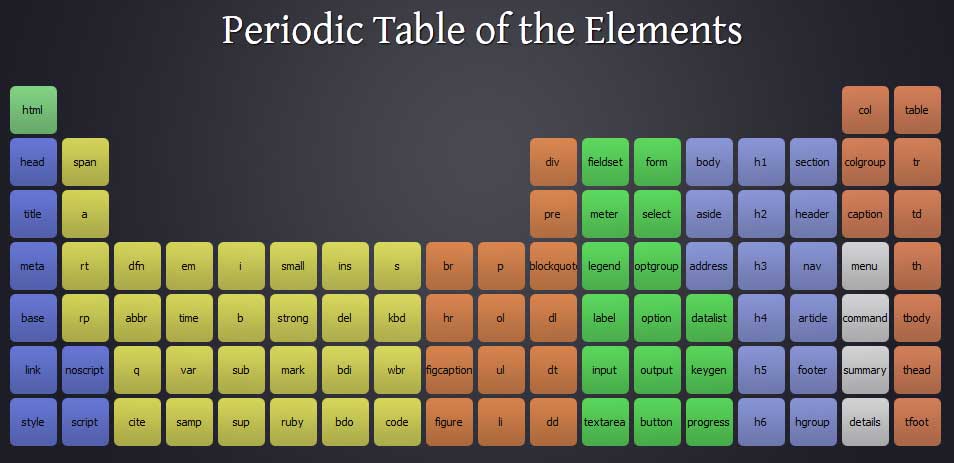
  Periodeic table of HTML5 Elements, arrange by type.