Sliding Boxes and Captions with jQuery
The Basic Idea
All of these sliding box animations work on the same basic idea. There is a div tag (.boxgrid in my css) that essentially acts as a window where two other items of your choosing ?peek? through.
Confused? Cue the helpful diagram –

From this basic idea we can play around with animations of the sliding element to either show or cover up the viewing area, thus creating the sliding effect.
Step 1 – CSS Foundation Work
Given the basic structure outlined in the helpful image above, we will need to use a little bit of CSS to make it work as intended. The following will make it functional – review my complete stylesheet in the downloadable file.
The following defines the viewing window (.boxgrid) and sets the default position for images within it to the top left. This is important to make the overlap while sliding work. Dont? forget that overflow:hidden makes this all possible.
- .boxgrid{
- width: 325px;
- height: 260px;
- margin:10px;
- float:left;
- background:#161613;
- border: solid 2px #8399AF;
- overflow: hidden;
- position: relative;
- }
- .boxgrid img{
- position: absolute;
- top: 0;
- left: 0;
- border: 0;
- }
If you aren?t using the semi-transparent captions you are done with CSS – move to Step 2.
- .boxcaption{
- float: left;
- position: absolute;
- background: #000;
- height: 100px;
- width: 100%;
- opacity: .8;
- /* For IE 5-7 */
- filter: progid:DXImageTransform.Microsoft.Alpha(Opacity=80);
- /* For IE 8 */
- -MS-filter: “progid:DXImageTransform.Microsoft.Alpha(Opacity=80)”;
- }
Opacity that plays nice in all browsers is a rough topic, educate yourself if you need to.
Now we?ll need to set up the default starting point for the caption box. If you want it fully hidden initially, you will want the distance from the top or left to match the height or width of the window (.boxgrid), depending on which direction it will be sliding. You can also have it partially visible initially, as .caption .boxcaption illustrates.
- .captionfull .boxcaption {
- top: 260;
- left: 0;
- }
- .caption .boxcaption {
- top: 220;
- left: 0;
- }
Step 2 – Adding the Sliding Animations
This next stage is a matter of choosing which animation suites you, I have included a bunch of pre-formatted potentials to help you along. Play around with them to find one that fits your needs and style.
- $(document).ready(function(){
- //To switch directions up/down and left/right just place a “-” in front of the top/left attribute
- //Vertical Sliding
- $(‘.boxgrid.slidedown’).hover(function(){
- $(“.cover”, this).stop().animate({top:‘-260px’},{queue:false,duration:300});
- }, function() {
- $(“.cover”, this).stop().animate({top:‘0px’},{queue:false,duration:300});
- });
- //Horizontal Sliding
- $(‘.boxgrid.slideright’).hover(function(){
- $(“.cover”, this).stop().animate({left:‘325px’},{queue:false,duration:300});
- }, function() {
- $(“.cover”, this).stop().animate({left:‘0px’},{queue:false,duration:300});
- });
- //Diagnal Sliding
- $(‘.boxgrid.thecombo’).hover(function(){
- $(“.cover”, this).stop().animate({top:‘260px’, left:‘325px’},{queue:false,duration:300});
- }, function() {
- $(“.cover”, this).stop().animate({top:‘0px’, left:‘0px’},{queue:false,duration:300});
- });
- //Partial Sliding (Only show some of background)
- $(‘.boxgrid.peek’).hover(function(){
- $(“.cover”, this).stop().animate({top:’90px’},{queue:false,duration:160});
- }, function() {
- $(“.cover”, this).stop().animate({top:‘0px’},{queue:false,duration:160});
- });
- //Full Caption Sliding (Hidden to Visible)
- $(‘.boxgrid.captionfull’).hover(function(){
- $(“.cover”, this).stop().animate({top:‘160px’},{queue:false,duration:160});
- }, function() {
- $(“.cover”, this).stop().animate({top:‘260px’},{queue:false,duration:160});
- });
- //Caption Sliding (Partially Hidden to Visible)
- $(‘.boxgrid.caption’).hover(function(){
- $(“.cover”, this).stop().animate({top:‘160px’},{queue:false,duration:160});
- }, function() {
- $(“.cover”, this).stop().animate({top:‘220px’},{queue:false,duration:160});
- });
- });
Step 3 – The HTML
There are a few classes that we created simply as selectors for JQuery. Keep these rules in mind:
- The div class ?.cover? should be assigned to whatever is doing the sliding/movement.
- Within the div .boxgrid, the img should always come first.
Here?s an example of the HTML I would use for the .captionfull animation:
- <div class=“boxgrid captionfull”>
- <img src=“jareck.jpg”/>
- <div class=“cover boxcaption”>
- <h3>Jarek Kubicki</h3>
- <p>Artist<br/><a href=”<a class=”linkification-ext” title=“Linkification: http://www.nonsensesociety.com/2009/03/art-by-jarek-kubicki/” href=“http://www.nonsensesociety.com/2009/03/art-by-jarek-kubicki/”>http://www.nonsensesociety.com/2009/03/art-by-jarek-kubicki/</a>” target=“_BLANK”>More Work</a></p>
- </div>
- </div>
Go Forth and Create
I?ve only touched upon a few options you have, these boxes are your canvases, create away. I would encourage you to download the attached files, as it may be easiest to just copy-paste the parts relevant to your project.
Be sure to post any questions, thoughts, or cool things you?ve done in the comments below!

 How to Start a Functioning Website Under Thirty Dollars 2021?
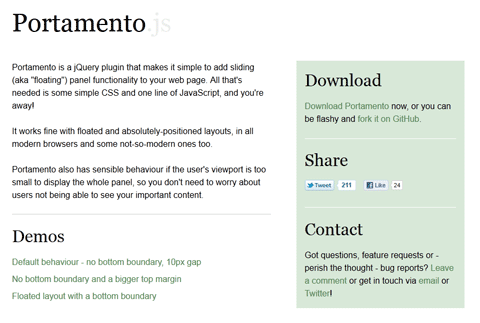
  A Simple jQuery Plugin For Flexible Floating Panels With Portamento.js
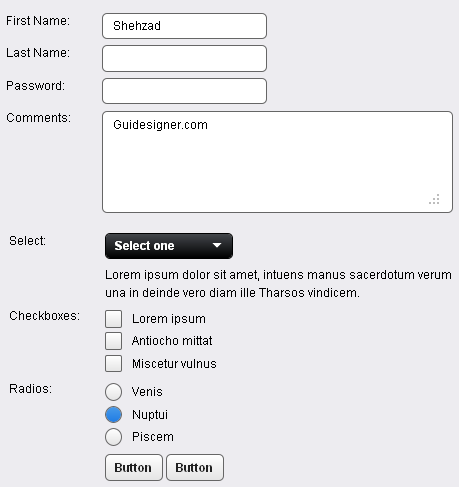
  A Light weight, small framework for beautiful forms: Ideal Forms
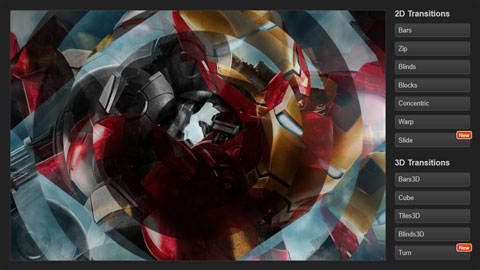
  CSS3 Powered jQuery Image Slider for 2D or 3D transitions – Flux Slider
  Now Easy to Convert Websites Into Mobile Quickly: Mobilize.js
  The HTML5 Time Element Is Back and Better Than Ever
  Mozilla Introduce Firefox 9, with Speed and less memory improvements
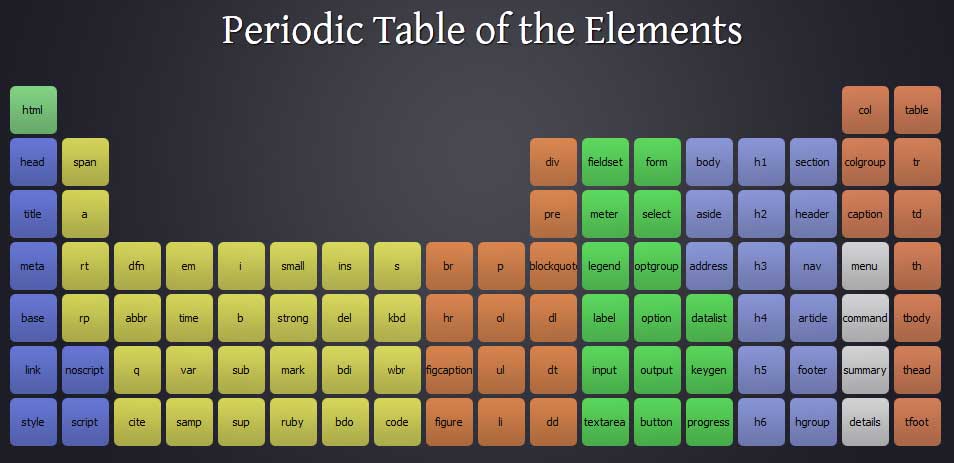
  Periodeic table of HTML5 Elements, arrange by type.