Learn How To Use Pure CSS To Style Web Form Dynamically.
Web application interface designs have evolved over the years, from the default browser style to having rich colour palettes design and dimensional background images. We have to thank the adoption of web standards and advanced CSS techniques for such improvements.
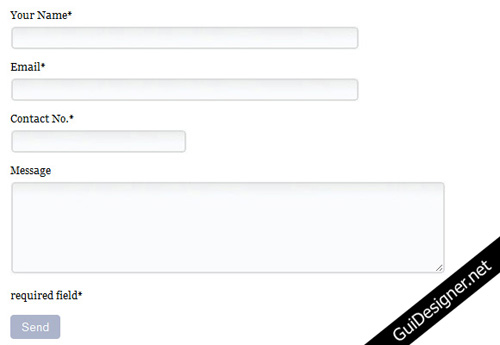
Normal default web form elements look ugly and unprofessional. Nowadays, as web design require every element to glue together as a whole, we cannot leave the web form to their default style. In order to achieve that, we can use a very simple way which is CSS to change your form appearance.
1. Extend Your Textfield Background Wider
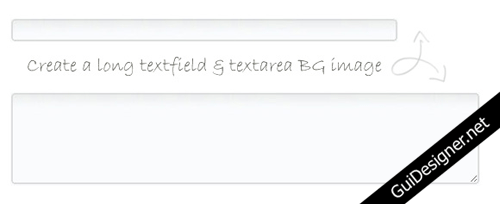
You will need to create a background image for your textfield with a wider width, so that it can cater to a longer width textfield if you need to extend at a later stage.
2. Create Your Web Form Markup
In the HTML below, it’s the normal form markup. Just one thing to take note, which is the span class that wrap around the textfield and the textarea. This span class is use for extending the left corner of the background image for the textfield.
01.<form action="#" method="post">02. <ul id="contactform">03. <li>04. <label for="name">Your Name*</label>05. <span class="fieldbox"><input type="text" name="name" id="name" value=""/></span>06. </li>07. <li>08. <label for="email">Email*</label>09. <span class="fieldbox"><input type="text" name="email" id="email" value=""/></span>10. </li>11. <li>12. <label for="contact">Contact No.*</label>13. <span class="fieldbox"><input type="text" name="contact" id="contact" value=""/></span>14. </li>15. <li>16. <label for="msg">Message</label>17. <span class="msgbox"><textarea class="area" id="msg" name="msg" rows="8" cols="30"></textarea></span>18. </li>19. </ul>20. 21. <p>required field*</p>22. <input type="submit" value="Send" id="sendbutton" name="sendbutton"/>23.</form>3. Style The Form With CSS
Once we have the markup ready, we’ll start off with the normal form styling. Give a display:block; for the label to flush the textfield and textarea to the next line. The rest are some padding and margin alignment.
01.label {02. display:block;03. padding-bottom:5px;04. margin-top:20px;05.}06. 07.#contactform {08. width:900px;09. overflow:hidden;10.}11. 12.#contactform li {13. list-style:none;14. padding-bottom:20px;15.}Now, let’s move on to styling of the textfield. As you know we can simply give a fixed width and height properties to the textfield and set the background image, a nice looking textfield appear.
However what happened if you need to change the width? Are you going to go through the hassle of slicing your textfield background again? So in order to solve this problem of re-slicing the textfield background, we will have to make it dynamic, the CSS code below shows you how you can do it.
01.//Textfield style02.#contactform li .fieldbox {03. background:transparent url(images/subfield.jpg) no-repeat top left;04. float:left;05. height:27px;06. padding-left:5px;07.}08. 09.#contactform li .fieldbox input {10. background:transparent url(images/subfield.jpg) no-repeat top right;11. height:27px;12. padding-top:5px;13. width:400px;14.}15.//Change the width of the contact no. field16.#contactform li .fieldbox #contact {17. width:200px;18.}19.//Textarea style20.#contactform li .msgbox {21. background:transparent url(images/msgfield.jpg) no-repeat top left;22. float:left;23. height:110px;24. padding-left:5px;25.}26. 27.#contactform li .msgbox textarea {28. background:transparent url(images/msgfield.jpg) no-repeat top right;29. height:110px;30. padding-top:5px;31. width:500px;32.}33.//Button Style34.#sendbutton {35. background:#acb4cb; color:#fff;36. cursor:pointer;37. padding:5px 10px;38. -moz-border-radius:4px;39. -webkit-border-radius:4px40.}In the above CSS code, we have the #contactform li .fieldbox which is the span class to have the background image, and float it to the left. After adding padding-left:5px; you will be able to see the tiny left round corner of the background image.
Next, we will have the the same background image apply to the #contactform li .fieldbox input selector with a width. Now you can change the width of your design textfield background image just by changing the value without re-slicing any image.
4. End Result
You might want to try using Firebug to change the width of the textfield to see how the background image of the textfield reacts.

Above is a simple example on how you can style a form just by using CSS. However when it comes to more advance form styling, like checkbox or radio button inputs to match a custom design, it’s nearly impossible to do it because they do not support basic CSS, like background colours or images. In order to do that, you will actually need the help of JavaScript.
 How to Start a Functioning Website Under Thirty Dollars 2021?
 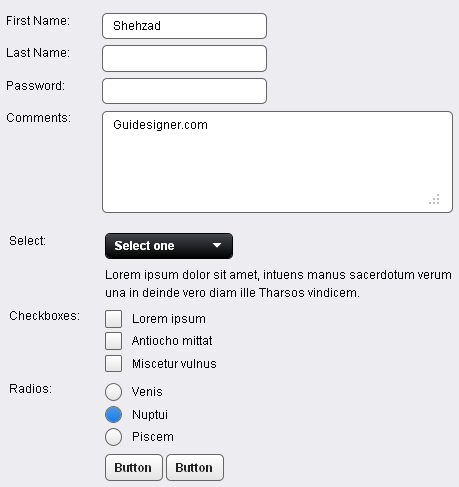 A Light weight, small framework for beautiful forms: Ideal Forms
  CSS3 Powered jQuery Image Slider for 2D or 3D transitions – Flux Slider
  Now Easy to Convert Websites Into Mobile Quickly: Mobilize.js
  The HTML5 Time Element Is Back and Better Than Ever
  Mozilla Introduce Firefox 9, with Speed and less memory improvements
 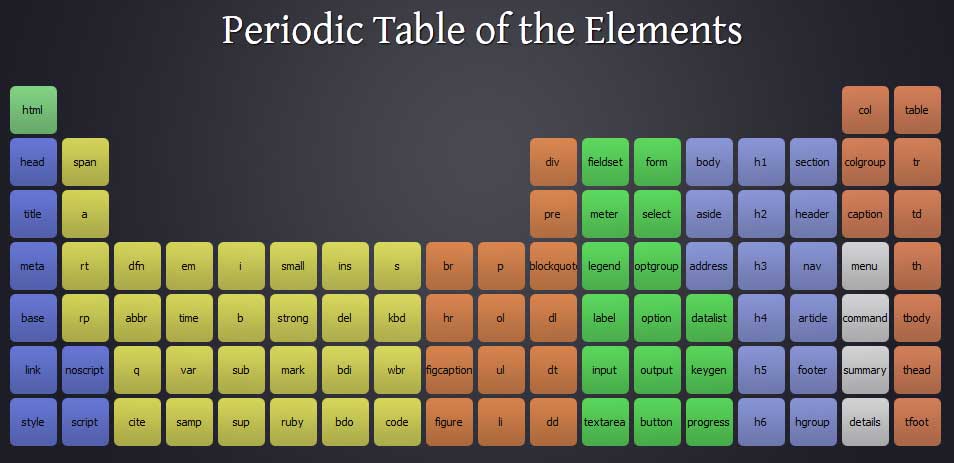 Periodeic table of HTML5 Elements, arrange by type.